

Section 1: Getting Started with AI in Your Kitchen
Getting Started with AI in Your Kitchen Duration (31 minutes)
| Topic | Duration (min) |
|---|---|
| 1.1 Welcome and What You Will Build | 6 |
| 1.2 Setting Up Your Free AI Tool (ChatGPT, Claude, or Gemini) | 8 |
| 1.3 The Frame, Focus, Finish Prompting Method | 10 |
| 1.4 How to Photograph Your Pantry and Fridge for Best Results | 7 |
--------------- |
1.1 Welcome and What You Will Build
Runtime: 6 minutes
Learning objective: Understand exactly what you will create in this course and why building around what you already own changes everything.
Walkthrough
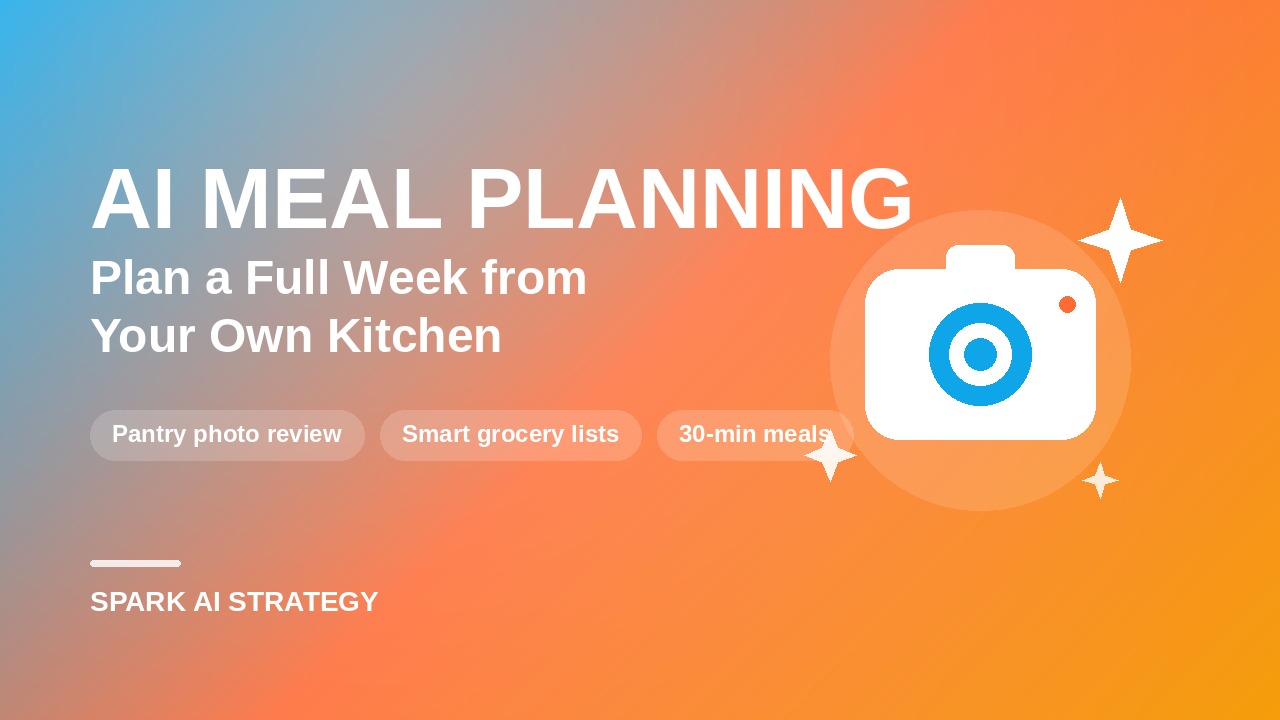
Welcome. By the end of this course you will have a real, working meal plan for your actual week, built from the food already sitting in your kitchen right now. Not a generic plan from a website. Yours.
Here is the problem this course solves. Most of us open a full fridge and still say "there's nothing to eat." We buy groceries we already had, we forget what is in the back of the pantry, and food goes to waste. The average household throws away a meaningful share of the food it buys. That is money in the trash every single week.
The fix is a simple shift. Instead of starting with recipes and then shopping, you start with what you have. You take a photo of your fridge and pantry, let AI see what is there, and build the week around those ingredients first. You only shop for the gaps. Less waste, lower bills, and no more nightly "what's for dinner" stalemate.
Here is what you will build across this course:
- A full seven-day meal plan with breakfast, lunch, and dinner, where every meal takes 30 minutes or less
- A grocery list that buys only what you are missing, organized by store aisle and kept inside a budget you set
- A Sunday prep plan so weeknights are faster
- A leftover rescue routine that turns odds and ends into new meals
- A monthly version that lowers your costs even further using a handful of versatile base ingredients
You do not need any cooking experience, and you do not need to be technical. If you can take a photo and copy and paste text, you can do everything here. Every lesson works on your phone.
In Section 1 we set you up for success. You will pick and set up a free AI tool, learn a simple prompting method that makes AI dramatically more useful, and learn how to photograph your kitchen so AI reads it accurately. Then in Section 2 we point the camera at your real pantry and the fun begins.
Do this now
- Grab the device you will use for the course, ideally your phone.
- Set aside about 30 minutes later this week when you can plan with a real, stocked kitchen.
- Keep a notepad or notes app open to jot the meals your family actually likes. You will use that list soon.
Key takeaway: This course is hands-on. You are not learning about AI in theory. You are using it to plan your own real week, starting from the food you already own.
Transition: First we need a tool. In the next lesson you will set up a free AI assistant in about five minutes.
1.2 Setting Up Your Free AI Tool (ChatGPT, Claude, or Gemini)
Runtime: 8 minutes
Learning objective: Create a free account on an AI tool that can see your photos, and understand which free tool fits a photo-heavy workflow best.
Walkthrough
You have three excellent free options, and all of them can do the core thing this course depends on, which is look at a photo and understand it. That feature is called vision. Let me walk through each, then give you a clear recommendation for this specific course.
The three tools are ChatGPT from OpenAI, Claude from Anthropic, and Gemini from Google. Any of them will work. The prompts in this course are written to work in all three.
One honest, practical detail that matters for meal planning. As of mid 2026, the free version of ChatGPT limits how many images you can upload per day, often around two images in a 24 hour window. Since this course usually has you upload at least two photos at once, a fridge and a pantry, free ChatGPT can hit that limit fast. The free versions of Claude and Gemini are more generous with images. Claude's free plan allows many images per conversation, and Gemini's free plan allows multiple files per prompt. So if your main goal is the photo-based meal planning in this course, Claude or Gemini on the free plan will feel smoother. If you already pay for ChatGPT, it works great too and the image limits are much higher.
There is no wrong choice. Pick one and move forward. You can always try another later.
Do this now
Choose one tool and create your free account:
- ChatGPT: go to chatgpt.com, click Sign up, and register with an email or a Google or Apple account.
- Claude: go to claude.ai, click Sign up, and register with an email or a Google account.
- Gemini: go to gemini.google.com and sign in with your existing Google account.
Then do these two setup steps:
- On a phone, install the official app from your app store so the camera and upload button are one tap away. On a computer, bookmark the site.
- Protect your privacy. In ChatGPT, open Settings, then Data Controls, and turn off "Improve the model for everyone" if you prefer your chats not be used for training. Claude and Gemini have similar privacy controls in their settings. This is optional, but it is a good habit.
A quick safety rule: AI tools are helpful, but they are not a vault. Never paste passwords, account numbers, or other sensitive information. For our course, you will only ever share photos of food, which is perfectly safe.
Key takeaway: Any of the three free tools works. For this photo-driven course, free Claude or free Gemini handle multiple images most comfortably. Set up your account and app before the next lesson.
Transition: Having the tool is step one. Using it well is step two. Next you will learn the single prompting habit that separates a vague answer from a genuinely useful one.
1.3 The Frame, Focus, Finish Prompting Method
Runtime: 10 minutes
Learning objective: Learn a repeatable three-part structure for writing prompts that get specific, usable results every time.
Walkthrough
AI is only as good as what you ask it. Most people type a few words, get a generic answer, and assume the tool is not that smart. The tool is smart. The instructions were thin. Frame, Focus, Finish fixes that. It is three simple parts you add to any request.
Frame is who you are and what your situation is. This is the context that lets AI tailor the answer to your real life instead of an average stranger's. For meal planning, your Frame might be your family size, your budget, your schedule, and any dietary needs.
Focus is what you specifically want it to do. Be direct about the task and the rules. Vague asks get vague answers. Clear constraints, like "30 minutes or less" or "use what I already have first," get sharp, useful answers.
Finish is the format you want the answer in. Do you want a table, a checklist, a grocery list grouped by aisle, a meal plan by day? Telling AI the shape of the output is the step almost everyone skips, and it is the one that makes the result something you can actually use.
Let me show the difference.
A weak prompt looks like this: "Give me a meal plan." You will get something generic that ignores your budget, your family, and your kitchen.
A Frame, Focus, Finish prompt looks like this:
"I am cooking for a family of four on a 125 dollar weekly grocery budget, and weeknights are busy. (Frame) Build a seven-day dinner plan that uses simple, family-friendly ingredients, with every meal 30 minutes or less. (Focus) Give it to me as a table with columns for the day, the meal, and the prep time, followed by a grocery list grouped by store aisle. (Finish)"
Same tool, completely different result. The second one respects your life and hands you something you can take to the store.
You do not need perfect wording. You just need all three parts present. A quick mental check before you hit enter: did I say who I am, what I want, and what shape I want it back in?
One more habit. Treat it like a conversation. If the first answer is close but not right, you do not start over. You refine. "Make Tuesday vegetarian." "Swap anything with nuts." "Cut the budget to 100 dollars." AI keeps your context and adjusts.
Do this now
- Write one Frame, Focus, Finish prompt about your own dinners this week. Include your family size, your budget, your time limit, and ask for a table plus a grocery list.
- Paste it into your AI tool and read the result.
- Send one refinement, such as a swap for an ingredient you dislike, and watch it adjust.
Key takeaway: Frame, Focus, Finish. Tell AI who you are, what you need, and the format you want back. Present all three and the quality of every answer jumps.
Transition: You now know how to ask. Next we make sure AI can see. The accuracy of your whole meal plan depends on the quality of your pantry and fridge photos, so let me show you how to take them right.
1.4 How to Photograph Your Pantry and Fridge for Best Results
Runtime: 7 minutes
Learning objective: Take clear, well-organized photos so AI can identify your ingredients accurately, which makes every meal plan that follows more reliable.
Walkthrough
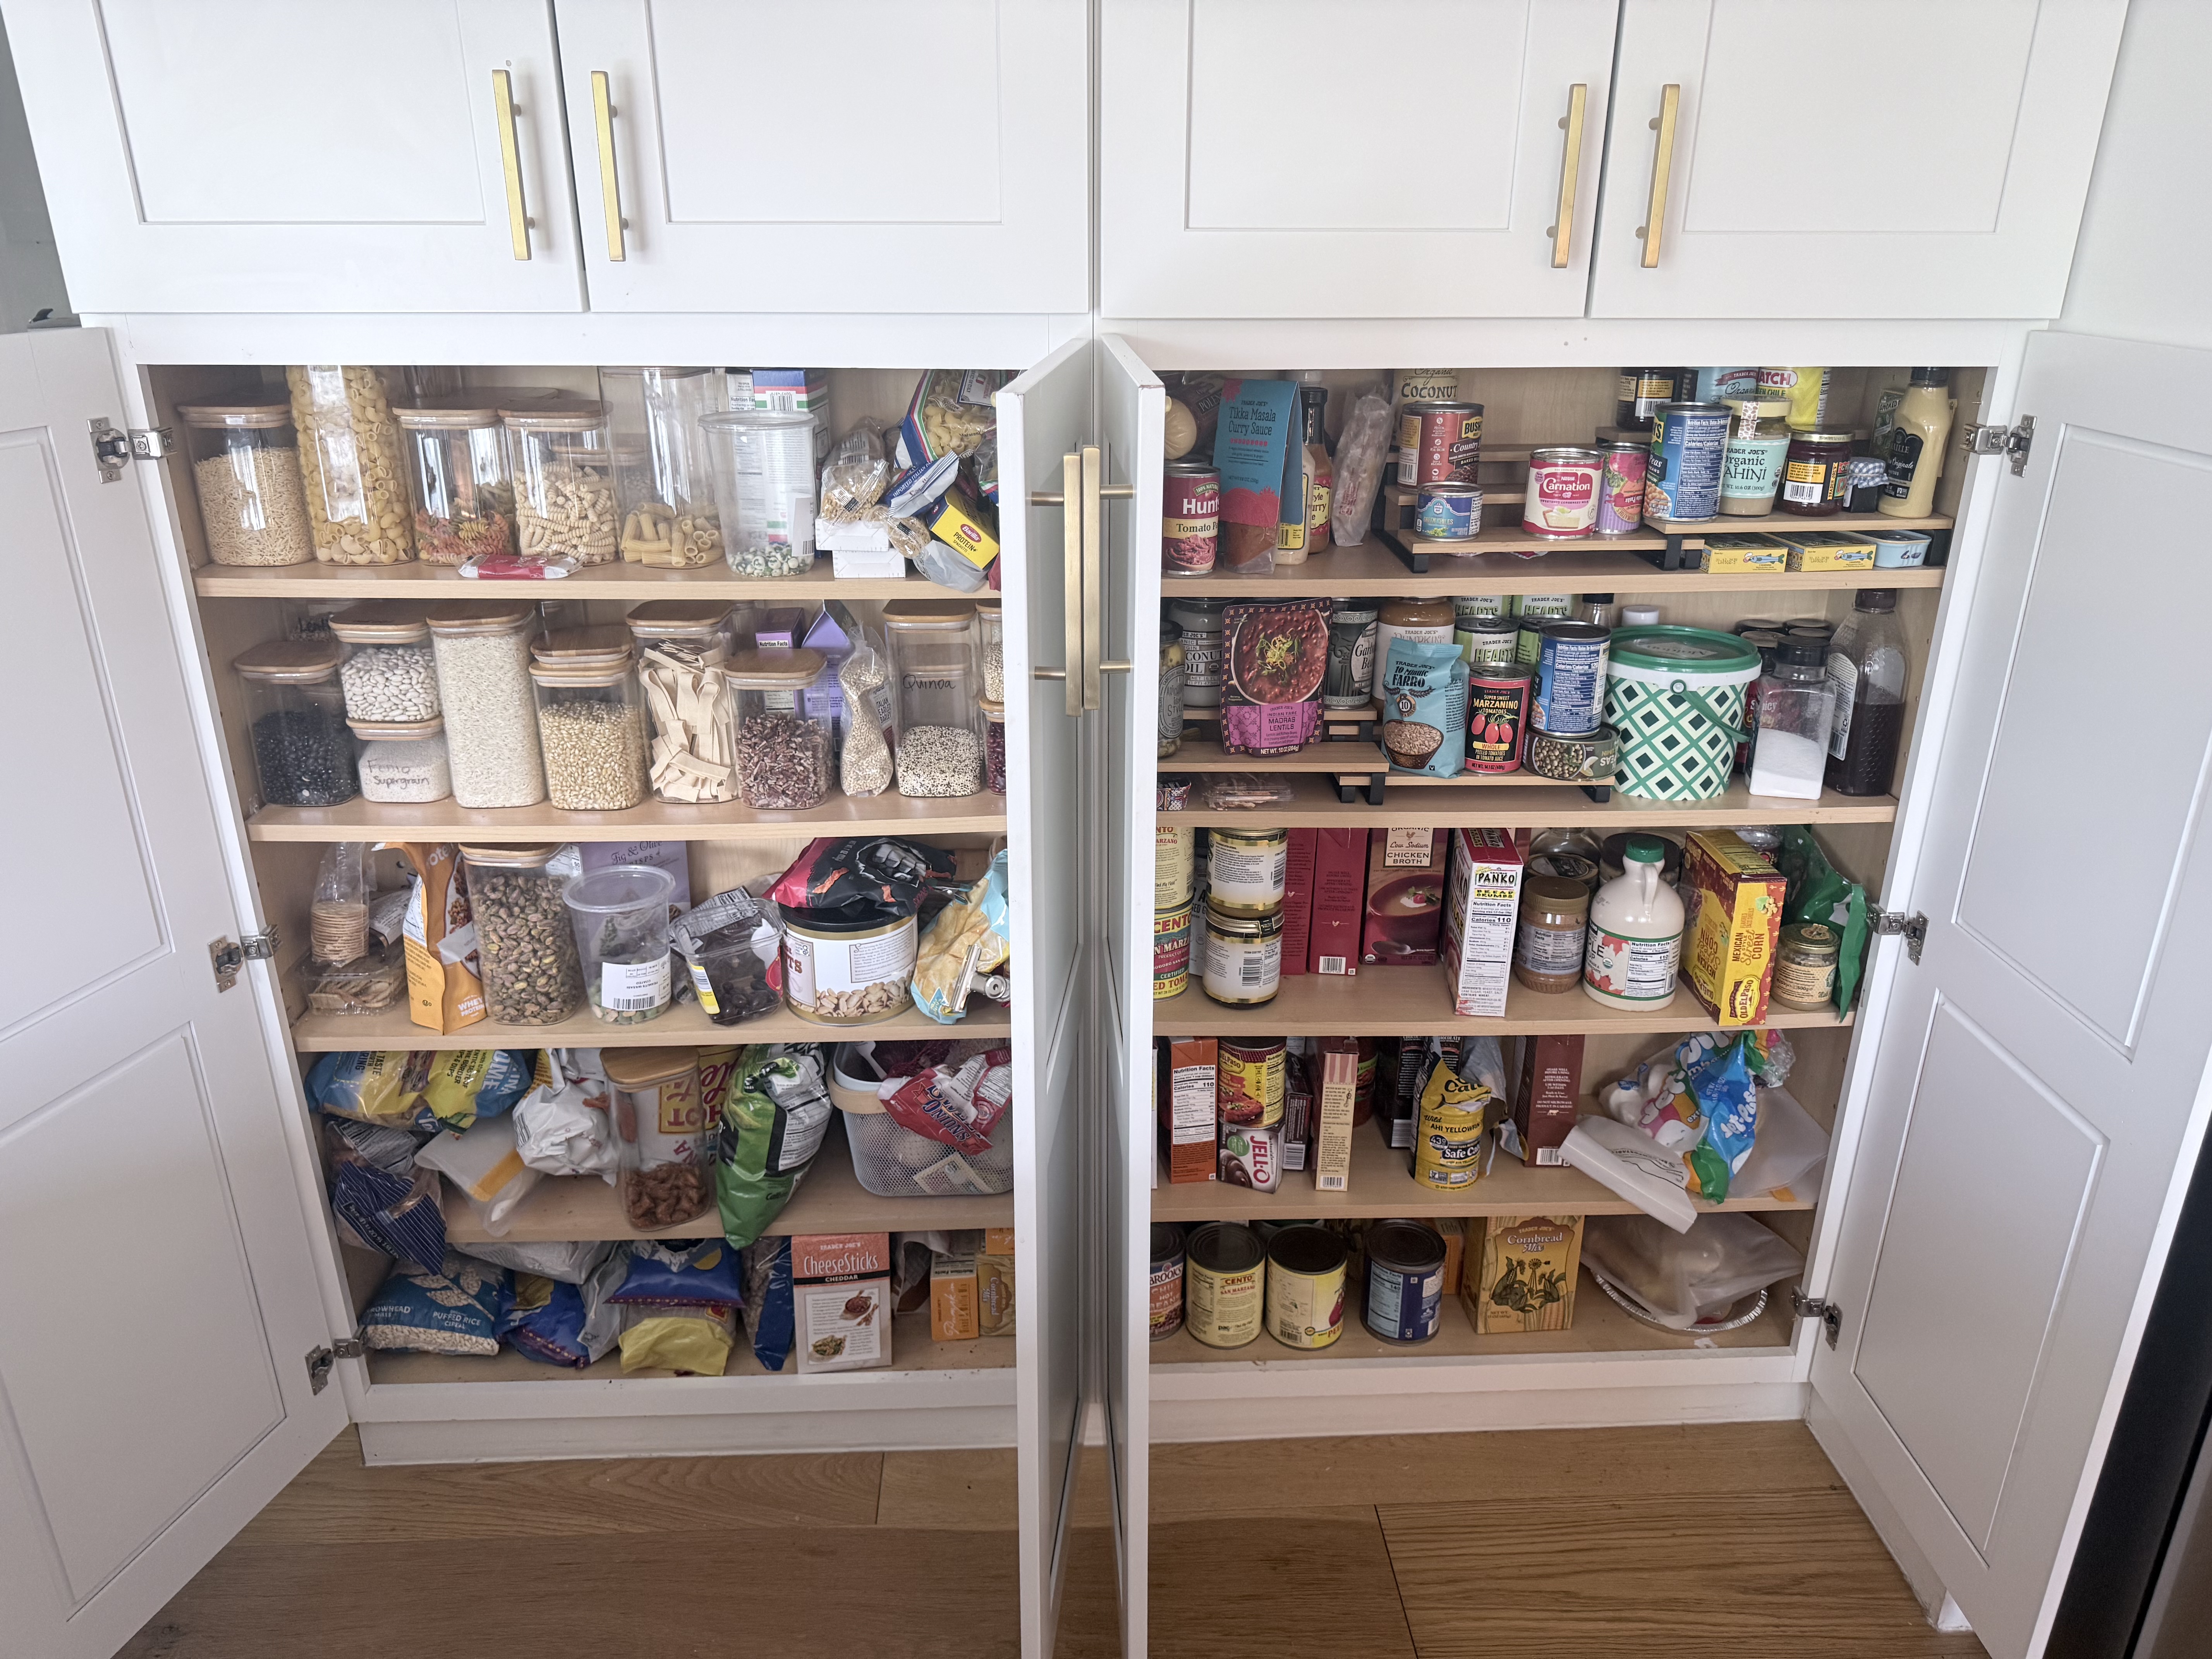
Everything in this course starts with a photo. If AI can see your ingredients clearly, your meal plan will be accurate. If the photos are dark or cluttered, AI will guess, and you will spend time correcting it. A few seconds of care here saves you time later.
Think of it like showing a friend your kitchen and asking what you could make. You would turn on the light and move things so they can actually see. Same idea.
Here is how to get clean, readable photos.
Light it up. Open the fridge fully and turn on the kitchen light. For the pantry, open the doors wide and let light in. Natural daylight is even better if you can. Avoid shadows and backlighting.
Shoot straight on. Hold the camera level and capture the whole shelf area in frame, not at a steep angle. You want labels and shapes visible.
Pull the front row forward or take a few angles. Items hide behind other items. Either nudge the front items aside for a clearer view, or take two or three photos of the same area from slightly different positions so more of what you own is visible.
Go shelf by shelf for a packed pantry. One wide photo of a deep, full pantry can be hard to read. Take a wide shot, then a closer photo of each shelf. More detail means better identification.
Get labels facing out where you can. Cans and jars are easier to identify when the label shows. You do not need to stage everything, just turn a few mystery items so the front is visible.
Keep it food only. Only capture food and the kitchen. Do not include mail, documents, prescriptions, or anything personal sitting on a shelf. You are sharing pictures of groceries, nothing more.
You do not need professional photos. A normal phone photo in good light is plenty. The goal is simply that a person, or AI, could look at it and name what is there.
Do this now
- Open your fridge, turn on the light, and take one clear, straight-on photo of each main area, including the door shelves.
- Open your pantry and take one wide photo, then a closer photo of each shelf.
- Quickly review the photos. Can you read most of the labels and see what is there? If a shelf is dark or blocked, retake it.
- Keep these photos handy. In Section 2 you will upload them and watch AI build your inventory.
Key takeaway: Good light, straight-on angle, front items moved aside, shelf-by-shelf for full pantries, and food only. Clear photos in equal accurate meal plans out.
Transition: You are set up, you know how to prompt, and you have great photos. In Section 2 we upload them and turn your real kitchen into a digital inventory that powers your entire week.
Instructor note on accuracy
Free-tier capabilities for ChatGPT, Claude, and Gemini were verified in June 2026. These tiers change often. Before each cohort or recording refresh, confirm current image-upload limits, since the ChatGPT free image cap in particular has shifted over time. If a tool changes, the Frame, Focus, Finish method and the photography guidance remain valid regardless of which tool learners choose.


